Super Slim Subscribe Module Tutorial
Lorem ipsum dolor sit amet, consectetur adipiscing elit. Mauris arcu ex, rutrum vel magna at, accumsan efficitur neque. Vestibulum ante ipsum primis in faucibus orci luctus et ultrices posuere cubilia Curae; Aenean mollis, lacus a euismod placerat, ante mi ornare nunc, nec egestas quam est nec felis.
Nullam ut ornare eros. Praesent orci velit, tincidunt eget pulvinar sed, cursus et turpis. Nunc at blandit sapien, vel venenatis velit. Interdum et malesuada fames ac ante ipsum primis in faucibus. Duis vitae eros diam. Sed orci ligula, finibus eu ultrices ut, pharetra in ex. Cras vitae nulla vitae nulla laoreet sagittis.
Praesent commodo nunc nec posuere feugiat. Cras massa lorem, varius interdum dictum quis, luctus vitae tellus. Integer ultricies purus at urna lobortis, in rhoncus eros commodo. Donec eleifend libero non velit vehicula, sit amet maximus velit tincidunt.

%
Divi Expertise Needed
%
CSS Expertise Needed
%
PHP Expertise Needed
Lets Get Started
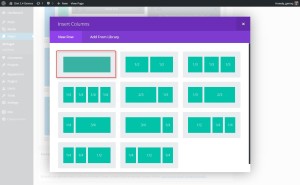
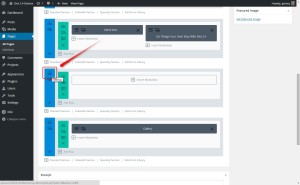
First thing you need to do is create a new “Standard Section” and insert a single row “Column”.
1. Insert Column
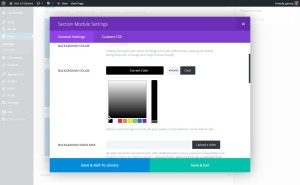
2. Next you will need to make a few adjustments in the Section Settings. Open up the settings.
3.  Change the Background Color. In my example I use black.
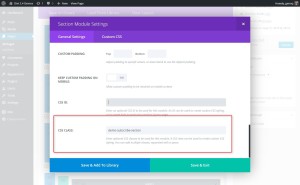
4. This next step is very important and often missed or entered incorrectly. You are going to give the Section the following CSS Class: demo-subscribe-section
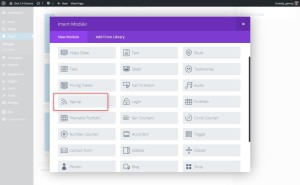
5. Now once you have saved those changes, you can insert the subscribe/signup module.
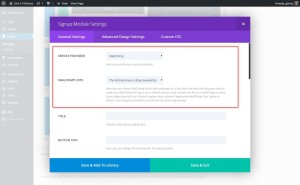
6.  You will have to set up your Service Provider and List. In this example I am using Mailchimp and I have already set up my Mailchimp account in the Divi Option ePanel
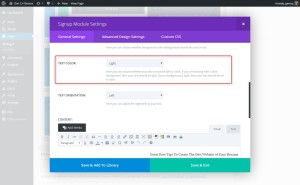
7. Since I am using a dark background like black, I want to make sure my text it “Light”
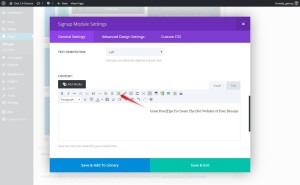
8. Now you can enter the text you want to appear to the left of the form. I like to set the text to left-align so that it bumps up against the form. My CSS is geared to this so I recommend you do the same.
And that’s it!¬Have fun!

